Photography
Fun Fact: More than 86% of online shoppers prefer visual information.
With that said we are here to help you master product photography in an affordable manner if you don’t yet have the budget to spend money on professional equipment.
if you do have the funds for new professional photography equipment, we recommend you take the time to purchase them. We have mentioned professional equipment here
It is important to keep in mind that product images demonstrate the quality of your product and also serves as a window into your e-commerce store.
It is important to take product images with the intention of creating both transparency and trust for those that are coming across your product.
When a consumer visits your product page they are simply seeking proof of value and quality in your product. Their first impression is dictated by the images, which will be the decision-maker on rather they will continue browsing or make a purchase.
The 2 Must-Use Types Of Online Store Product Photography.
If you follow a successful e-commerce brand you will come to realize that they use 2 types of product images.
Type 1: Clean-cut, White Background, Product Image Only
These white background, clean-cut, the product only images should be used in the featured product image and other images that will showcase the product from different angles.
Type 2: Lifestyle, And In-context Images
This second type of image will allow you to demonstrate real-life use cases of your product alongside complementing products or an environment that it is intended for the product to be used in.
It is important to allow each lifestyle photo to tell a story to the consumer, these photos will be the best fit to be used in blogs, social media, and other marketing channels.
Product Photography Preparation
Before you start taking awesome photos of your product here’s some equipment we recommend for the best possible product quality. We also Included links to amazon where you can buy them.
- A Camera
- A Tripod
- A White background
- A Ring Light
- A table
- Tape
- A good looking room
Above as you can see you will need quite a few things to get the best possible product photography. If you don’t want to buy a camera we recommend you use your iPhone or Android and make sure that HDR is turned on for the best possible photo quality.
The Right Camera ( optional, you can use your smartphone )

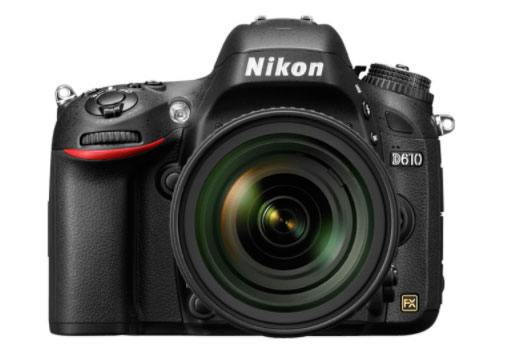
You don’t need a crazy expensive camera to take good photographs, although if you have a budget for a new camera we recommend the following:
- Nikon D5200 Bundle at $650 – $719 – View On Amazon
- Nikon D610 at $1,196.97 – View On Amazon
A Good Tripod

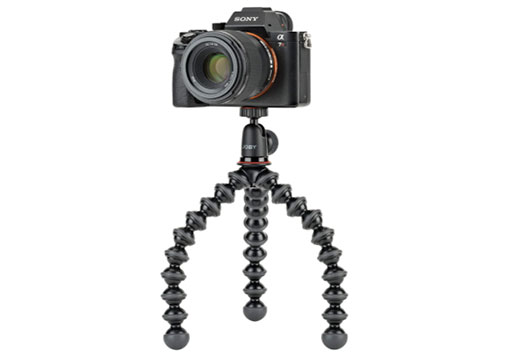
Most cameras have a small shutter, meaning you can’t just hand hold your camera for a shot or it will cause the picture to be blurry. Making a tripod the perfect solution, below you will find tripods we recommend:
- Joby Gorilla Tripod at $41.99 – View On Amazon
- Selfie Stick Tripod, 51″ at $23.99 – View On Amazon
A Clean White Background Sweep

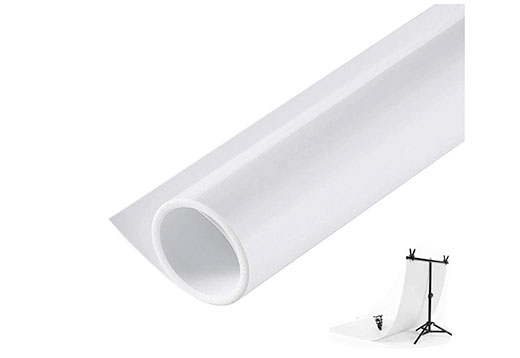
Although there are tons of options to choose from on amazon for a white background, we recommend that you buy a sweep due to the convenience of being able to cut off part of it as it gets dirty.
Recommended Sweep:
- Selens White Backdrop Paper at $29.99 – View On Amazon
A Ring Light

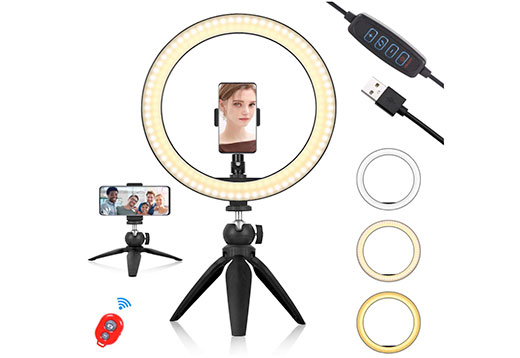
A ring light is a great addition to any product photography shot, a ring light will help eliminate any glare or shadows that may be caused by other lighting types.
Recommended Ring Light:
- eMart Ring Light at $18.39 – View On Amazon
A Table
A 20-28 inch wide folding table works best – View Tables On Amazon
Tape
Depending on the table you end up purchasing, you can use tape or clamps to make sure your board is secure so that it sweeps nicely. – View Tapes On Amazon
A Room With A Window
A room with a window that is next to a wall is a perfect room for product photography. Being closer to a window will create a softer light with darker and software shadows, while being further away from the window will give a more even light, but will it will create lighter, and sharper shadows.
How To Use A White Background To Photograph Your Product.
Now that we have reviewed all the equipment that we will be using for the product photography, let’s get into the step-by-step process for shooting your product photography.
Set Up Your Table
When you have collected all the equipment you will be using, it’s time to properly set up your shooting area for success.
To start, place your table as close as possible to the window without intersecting the windowsill shadows. After that make sure that you have turned off all other lights in the room so it does not interfere with the natural light.
Set Up Your Background Sweep
Although there are many ways to accomplish this task, you will want to set up your background sweep vertically.
You may be required to roll up the board until you successfully reach that shape. Most people succeed in setting this up by taping the board to the wall and the end of the table vertically.
After you have this setup, place your product in the flat part of the sweep.
Set Up Your Camera
It is important that you follow the steps below to set your camera up to shoot the at best possible quality.
- Set Your White Balance (WB) To auto (AWB)
- Turn your camera’s flash off.
- Set your image configurations to the highest possible quality (RAW, If you have this option), if you are using a Smartphone make sure you have HDR turned on.
After you have done this to your camera, you should be ready to go to the next step.
Properly Set Up Your Product
Setting your product up can be quite simple but can also not be quite simple, for example, if your product happens to be a water bottle you have to be sure that you keep the label centered, often this takes many tiny movements and adjustments.
Regardless of the product you have, you always want to make sure that your product is in the middle of the surface.
Set Up Your Ring Light
Now that everything is pretty much ready to go, take out your ring light and play around with the position and lighting to where you feel its perfect, keep in mind you may have to take a few pictures until you get a perfect set up.
Take Photos and evaluate
The last step is of course testing, take a few photos, and then evaluate which one came off better and go ahead and use that set up for future photography.


